The WordPress Block Editor offers an array of blocks that can be used to create media-rich pages and posts.
Blocks are the content elements that you add to a page/post to create content layouts. You can add blocks for paragraphs, images, headings, lists, videos, galleries, and more.
The Block Editor requires no special technical knowledge. To build a page, simply add a block and start typing. Each block has its own toolbar with formatting options.
Respect the Boise State Web Theme
To ensure consistency and accessibility across the Boise State WordPress sites, please do not use inline CSS, HTML tags, or make any changes to color, typography, shadows, or width settings to style text.
The Boise State WordPress Theme manages theme styles in accordance with Brand standards and University Policy 10000.
The WordPress Support Team reserves the right to make content changes on any web page to ensure policy compliance.
The Block Editor Display
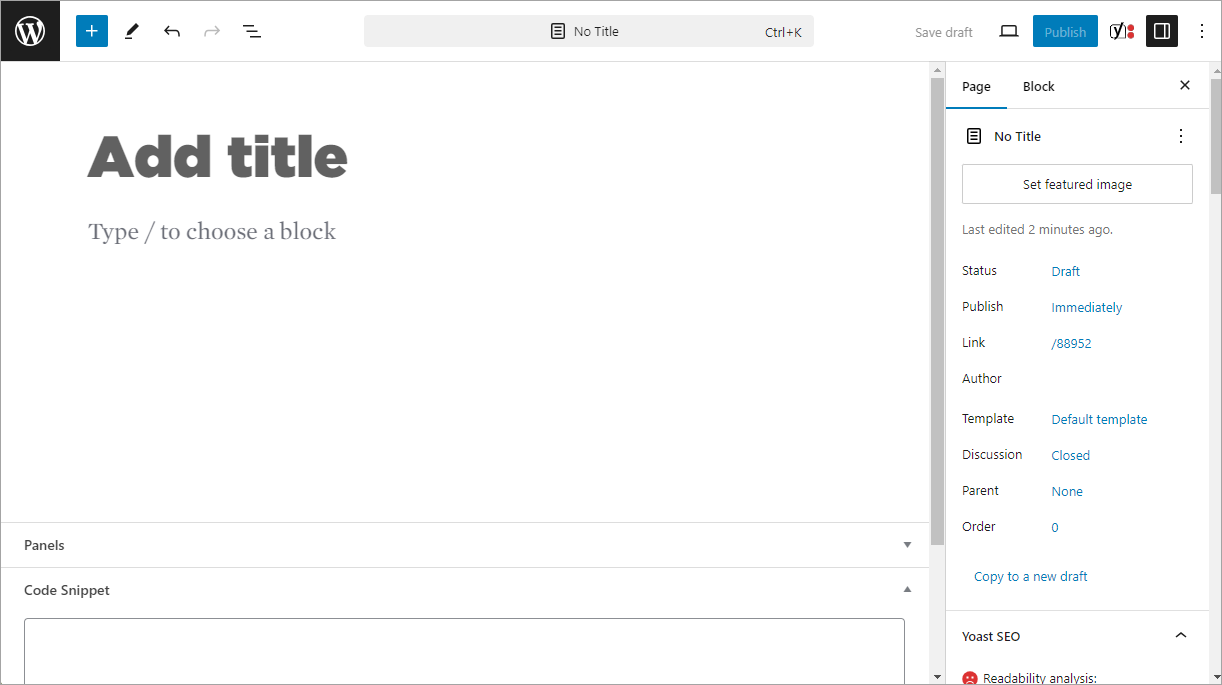
Click Add New Page (or Post) to get started. By default the block editor will display in full screen mode:
To modify the screen so that the Administrator navigation also appears, click on the Options icon located in the top toolbar, on the right side of the page:
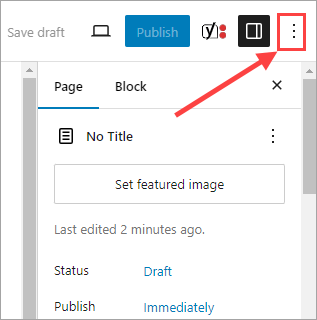
Uncheck Fullscreen Mode. After you do this, the Administrator dashboard will appear around the Block Editor.
Add Title
When you Add New Page, the first thing to do is give your page a title. In the field that says “Add Title”, type in your page name.
Block Editor Workspace
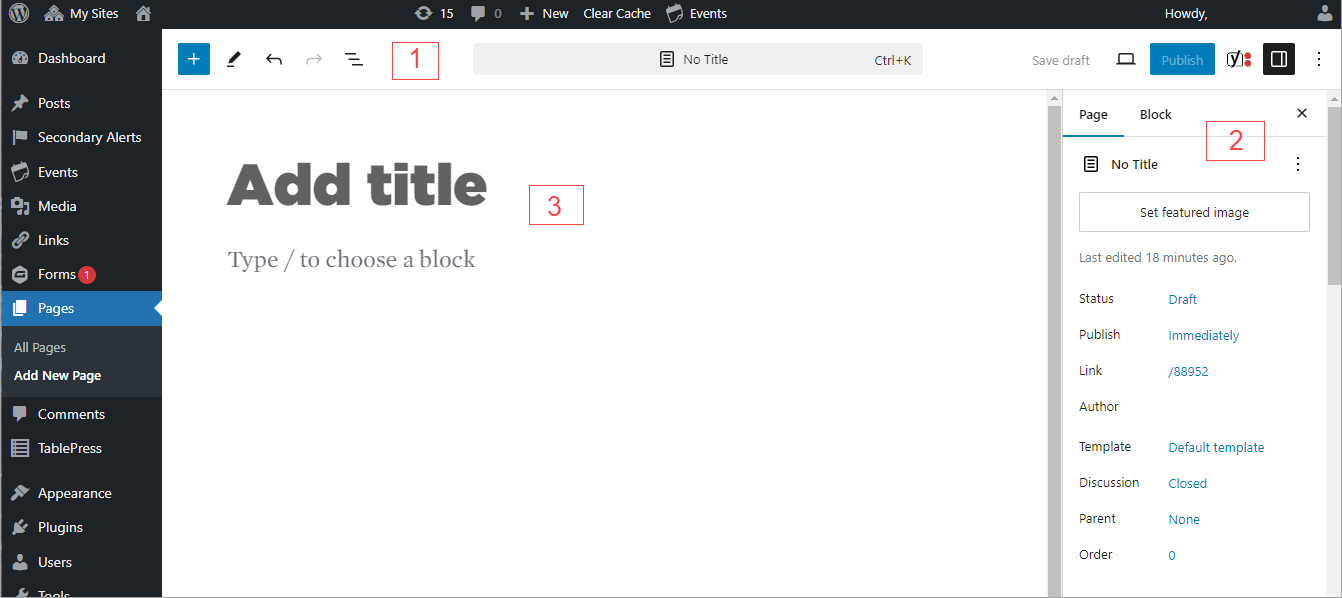
The WordPress Block Editor Workspace has three main sections (the image above displays the location of these sections):
- The top toolbar
- The right sidebar with the post/page settings and the block settings
- The content area (large area in the middle of the page where blocks are added and populated with content).
Block Editor Top Toolbar


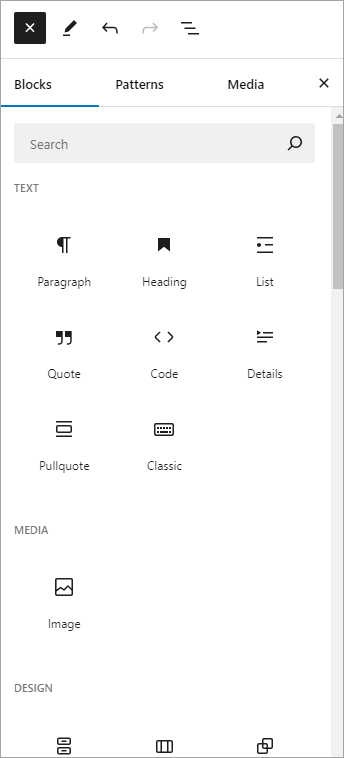
Block Inserter: Add blocks to your post or page.
The block inserter displays a panel of blocks when clicked on. You can search for a block by typing word(s) into search or scrolling down to look for your block.

Tools: Switch between editing a block and selecting a block. Choose the Select tool (or press the Escape key on your keyboard) to select individual blocks. Once a block is selected, press the Enter key on your keyboard to return to editing.
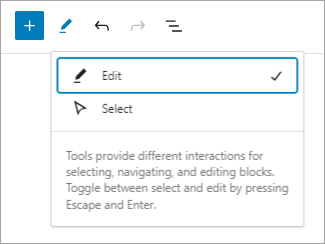

Undo and Redo: Undo an action, or redo an undone action.

Document Overview: When Document Overview is selected there are 2 tab options available. The default display is List View.
- List View displays a list of all blocks that are used on the post/page in the order they appear. This view provides easy navigation between the blocks on the post/page.
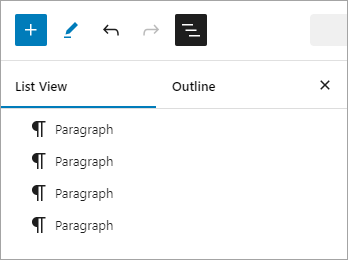
- Outline View displays your page’s heading structure on pages that originally did not use panels.
Before you publish your post or page, you will see the following options in the top right corner of the block editor’s workspace:

Save draft: Save a draft of your post or page without publishing it
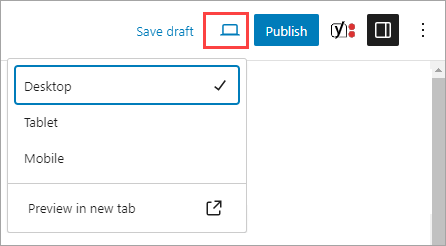
Preview: View how your post/page looks on your site by using the “view” device icon next to save draft link
Publish: Make your post/page available publicly
After you publish your post or page, the top right corner of the block editor’s workspace will change to the following display:

- Preview: View how your post/page looks on different devices, including desktop, tablet and mobile. Preview your page in a new tab where you can see how your post/page looks on the frontend.
- View Post/Page: Opens a new tab where you can see how your post/page looks on the frontend.
- Save: Saves the changes to your post/page and makes your content public. The “save draft” button is hidden once the post is published. After you have published your post/page, autosave is in effect.
- Yoast SEO Premium: Optimize readability, keyphrases and more on your page/post.
- Settings: Show or hide the post/page sidebar settings and the block settings.
- Options: Customize your editing experience using various options.
Block Editor – Sidebar Page/Post Settings and Block Settings
Sidebar Page/Post Settings
When the Page tab is selected, the following information displays:
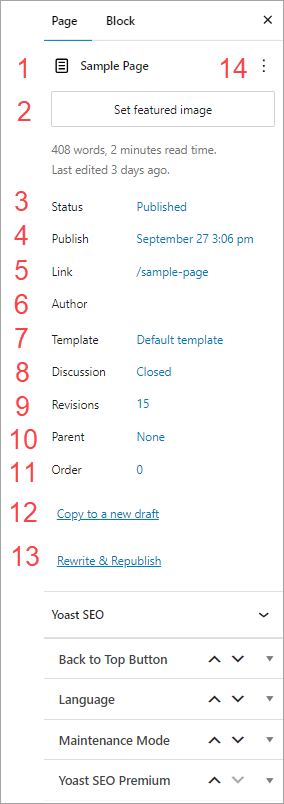
- Page Title
- Featured Image: Used by Posts, News Feed theme block, and Event Feeds theme block to set the featured image.
- Status: This setting controls the Status of the page/post and how it is viewed once it is published. Clicking on the current setting for Status will open a pop-up where you can change the Status & Visibility setting. Read more about WordPress Pages and Visibility Settings. If a page is already published, do not move it to Private status or a 404 error will be displayed. If you want to remove a page to work on it, put the page in Maintenance Mode (option located in the right sidebar). Password protected pages are not recommended as a method to restrict access to internal documents or content that should not be publicly available, primarily because WordPress’s native password protection functionality does not work in Boise State’s environment.
- Publish: The default option will publish your page as soon as you click the Publish or Save options. Click the link next to the Publish label to set a date and time to publish your page.
- Link: This is the permalink for your page. Setting or editing the page title will change the link for your page. Click the link on the words next to the Link label and a pop-up will appear where you can grab the full permalink URL.
- Author: Click the blank space next to the label of “Author” and a pop-up will open with a field. Type your name into the field and select it when it appears. Your user name will display as the author.
- Template: When a new page is created, the default template is used. Click on the “default template” link next to the word Template, and a pop-up will appear allowing the user to select a different template. Available templates include: Default Template, Section Main Page, Editorial Page, Marketing, and Theme Blocks Template. Read more about Page Templates.
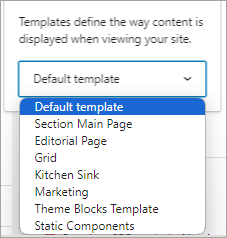
- Discussion: Please do not use this template. The Boise State Theme does not use comments or discussion boards.
- Revisions: Click on the link for revisions and your screen will change to allow you to look at different saved versions of the page. This view will allow you to restore a previous version of the page. Click “Go to editor” on the left side of the content area to go back to the Block Editor.
- Parent: This is where you set the page attribution for your page. If you are using section navigation you need to click on the default “None” link and a pop-up will open allowing you to select a parent page (which makes your current page the “child” page of the parent page). Click into the provided field and a dropdown menu of available pages will display.
- Order: When section navigation is used on a page, the default display of the items in the section navigation is alphabetical order. To manually re-order this list, give each page in the section navigation an order number and the section navigation will display the available pages in the order you set. Read more about Section Navigation.
- Copy to a new draft: This functionality is provided by Yoast. If you click on this link a draft of your current page will be created for you to edit. It will appear as a page that has never been published. You will know this because Save Draft and Publish will be options on this new page. If you keep the same page name and URL and you publish the page, the page URL will have a “-2” appended to it.
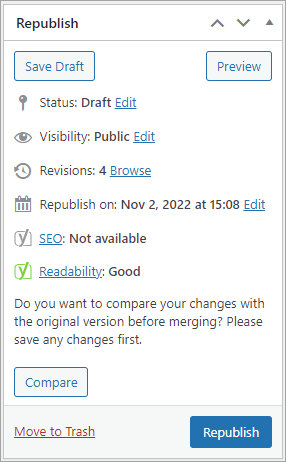
- Rewrite & Republish: When clicked on, this link allows authors to update existing content without creating a new page/post, and keeps the same page name and SEO intact. Your original page content will be public until you click “Republish” and then the new content will replace the old content. This is how the upper right corner of your block editor changes after you select Rewrite & Republish. Your page is now in draft mode with options to Save Draft, Preview content, and when you are ready, to Republish your content. Read more about Clone, Draft, and Rewrite & Republish.
- Actions: The three vertical dots to right of the page title are called Actions. If you click on the Actions icon a drop down menu will display the options of View, Rename, or Move to Trash.
Sidebar Block Settings
When you select a block in the Content Area of your block editor (by clicking on it), the right sidebar will change to the Block settings tab for the block you selected.
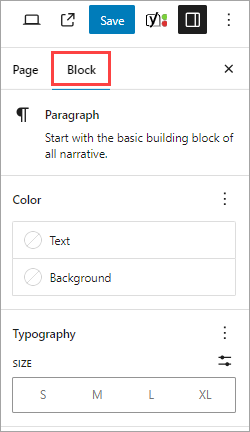
The above image is an example of Block settings for a Paragraph block. Sometimes the available settings can be configured and sometimes they should not be changed. If you see options for Color, Typography, Shadow, or width settings, please do not use these style options as the Boise State WordPress Theme manages the styles in accordance with Brand standards.
In This Section:
- Our Community Website Responsibilities
- WordPress Access
- WordPress Block Editor
- WordPress Blocks
- Page Templates
- Creating Pages
- Posts and News
- Menus
- Section Navigation in Gutenberg
- Migrating Panels to Blocks
- Images and Media
- Add Alt Text to Images
- Forms
- Tables
- Documents
- Dashboards and Data Visualizations
- Linking to Social Media
- Site Settings
- Information Security