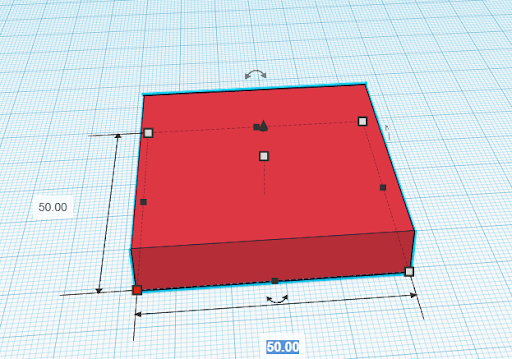
After creating some basic shapes in TinkerCAD, they can be combined to create more complicated structures. To start, create a box in TinkerCAD. You can either make a random size, or insert explicit dimensions.
Next, create a pyramid using the “Pyramid” shape.
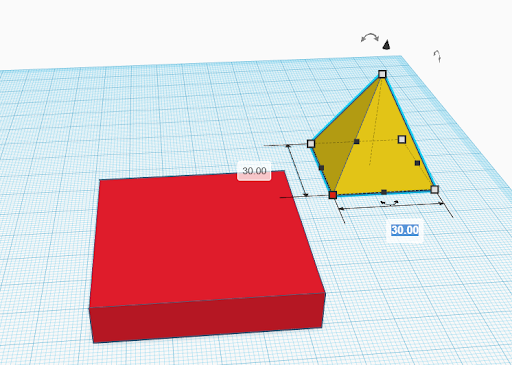
Move the pyramid so it is intersecting (or just touching) the box. You can use the ruler tool to get a precise location, but for now just make sure they are at least overlapping/touching.
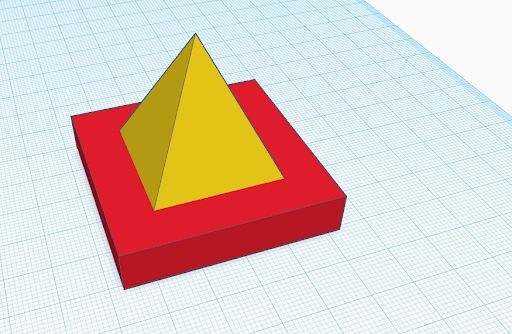
Now, hold shift and click on the pyramid and then the box to select them both. With both of them selected, click the “Group” button in the top right of TinkerCAD, to the left of the Import button. The button looks like a square intersecting with a circle. Alternatively, you can press Ctrl + G to group them.

This will combine the objects to make a single object. The color will change to show that this is now one object.

This process can be repeated to create more complex objects in TinkerCAD, along with modifying them with holes, which is in another tutorial on our page.